Magical Girl Saga Devlog[4]

Implementing Complex Inventory
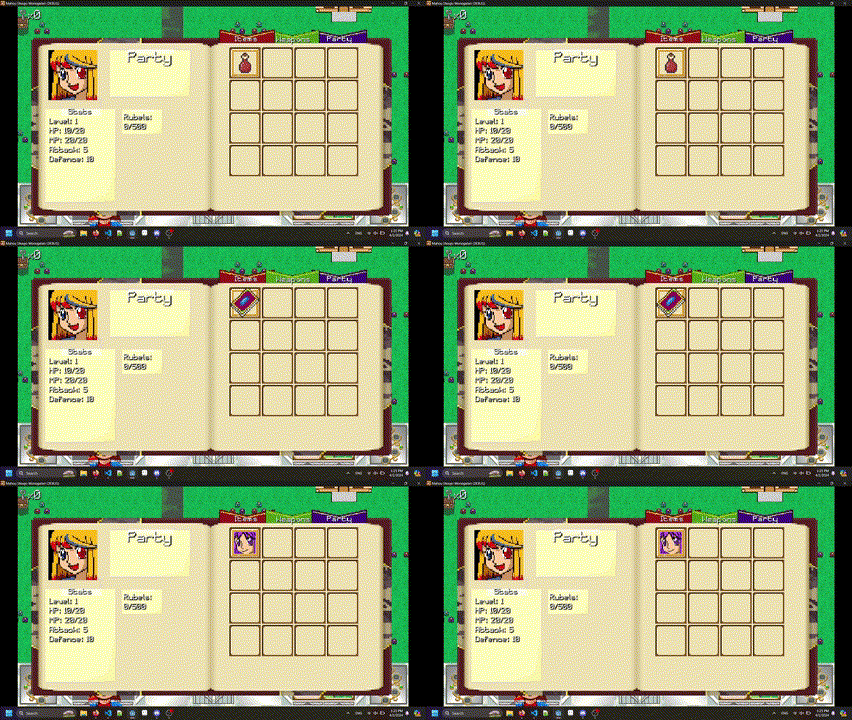
Hello everyone and welcome to devlog #4 for my 2D JRPG indie game, Magical Girl Saga! In this devlog, we'll go over the progress I've made in implementing a complex inventory consisting of three different inventories for the player; an items inventory, a weapons inventory and a party inventory, so without further ado, let's dive into this next devlog.
Part 1 - Inventory System
Items Inventory
So for the first step, implementing an items inventory. You may recall from previous devlogs that we added in
a toggleable inventory that switches between items and weapons, and we also added in the ability to add items and
weapons into each respective inventory. Now, we need to add functionality to our inventories so that the player can
use items and equip weapons, so first, we have to take a look at how the inventory system is currently set up.
So, the first step is to create a switch statement for all of the usable items in the player's inventory, which for
now, is just the red potion item. The reason we want to use a switch statement for the usable inventory items is because if else
statements will slow the performance of the game if it has to go through and check every single if else condition, so in this
case, a switch statement is optimal as it only triggers on a case by case basis and it is able to iterate through each case faster
than iterating through every if else condition. So I used to following code to make it so that when the red potion item is used,
it restores the player's health by 10HP.
switch(currentInventory) {
                case 0:
                    if(playerInventory.items[selectedSlotIndex] != null) {
                        switch(playerInventory.items[selectedSlotIndex].name) {
                            case "Red Potion":
                                player.life += 10;

                                if(player.life >= player.maxLife) {
                                    player.life = player.maxLife;
                                }

                                player.stats.UpdatePlayerStats();
                                playerInventory.items[selectedSlotIndex].amount--;
                                break;
                        }

                        if(playerInventory.items[selectedSlotIndex].amount <= 0) {
                            playerInventory.items[selectedSlotIndex]=null;
                        }
                    }
                    break;
So now that the items inventory (or currentInventory = 0) is able to use items like the red potion and the amount is also able to be changed, we can now move onto the weapons inventory, which is implemented very similarly to the items inventory.
Weapons Inventory
Now the next section here is also very straightforward and short. The weapons inventory is also implemeneted very straightforward.
All we have to do for this section is to set the player's weapons array index to the player's currentWeapon variable, and this is
also done using case 1 in the switch statement for currentInventory.
                            case 1:
                                if(playerWeapons.weapons[selectedSlotIndex] != null) {
                                    player.currentWeapon = playerWeapons.weapons[selectedSlotIndex];
                                }
                                break;
And now with that simple addition, we now move onto the most complicated of the inventory system: the player's party
The Party Inventory
Now before we get into the player's party inventory, we should talk about how exactly the player's party should work.
First off, the player should have up to 3 other party members following the player when they are equipped to the player's
currentParty variable, which is a 1 dimensional array of size 3. We also need to make the NPC invisible when the player
enrolls them into the player's party, but doesn't have them currently set to the player's currentParty and we can achieve
this using the following code:
                                public override void _PhysicsProcess(double delta) {
                                    var playerPosition = player.GlobalPosition;
                                    var npcPosition = GlobalPosition;
                                    var directionToPlayer = (playerPosition - npcPosition).Normalized();

                                    var velocity = Vector2.Zero; // The NPC's movement vector.
                                    var direction = Vector2.Zero; // The NPC's movement direction.

                                    this.Visible = true;

                                    if (isFollowingPlayer && player.currentParty.Contains(this)) {
                                        // Calculate the movement direction towards the player.
                                        direction = directionToPlayer;

                                        // Determine the animation based on the movement direction.
                                        if (Math.Abs(direction.X) > Math.Abs(direction.Y)) {
                                            currentAnimation = direction.X > 0 ? "walk_right" : "walk_left";
                                        }
                                        else if(Math.Abs(direction.X) < Math.Abs(direction.Y)){
                                            currentAnimation=direction.Y> 0 ? "walk_down" : "walk_up";
                                        }
                                            // Set the velocity based on the calculated direction.
                                        if(player.isMoving) {
                                            velocity = direction * speed;

                                            animationPlayer.Play(currentAnimation);
                                        }

                                        else {
                                        // If not following player, play idle animation.
                                        animationPlayer.Play(currentAnimation.Replace("walk", "idle"));
                                        }
                                    }

                                        for(int i = 0; i < playerParty.party.Length; i++) { if(string.IsNullOrEmpty(this.dialogues[this.dialogueSet,
                                            this.dialogueIndex]) && !player.currentParty.Contains(this)) { this.Visible=false; break; } }
                                    MoveAndCollide(velocity * (float)delta);
                                }
With this code in the enrollable NPC's class, we are able to control when the NPC should move and when it should be visible to the player. Now we can go back to our inventory system's switch statement and add the following code to handle adding the NPCs to the player's party:
                            case 2:
                                if(playerParty.party[selectedSlotIndex] != null) {
                                for(int i = 0; i < player.currentParty.Length; i++) {
                                    if(player.currentParty[i]==null) {
                                       layer.currentParty[i]=playerParty.party[selectedSlotIndex];
                                    if(player.currentParty[0] !=null) {
                                        partySlot1.Texture=player.currentParty[0].portraitTexture; } GD.Print("added to player's current party");
                                        break;
                                    }
                                }
                                 GD.Print("Selecting party member!");
                            }
                            break;
And now with that out of the way, everything for the new inventory system is functional. You can now use items, equip weapons and choose which characters to have in your immediate party!